How to survive longer in PokéSurvivor: breaking the 3-minute wall
A screenshot walkthrough of the most common wall in the game. "I can't get past 3 minutes" is not one wall but three stacked ones: a tougher enemy cast at 1:10, the first swarm at about 0:32 and again every 38–56 seconds, and the first boss at 3:00. This run walks through all three. Every number is checked against the game's own data.
What actually kills you
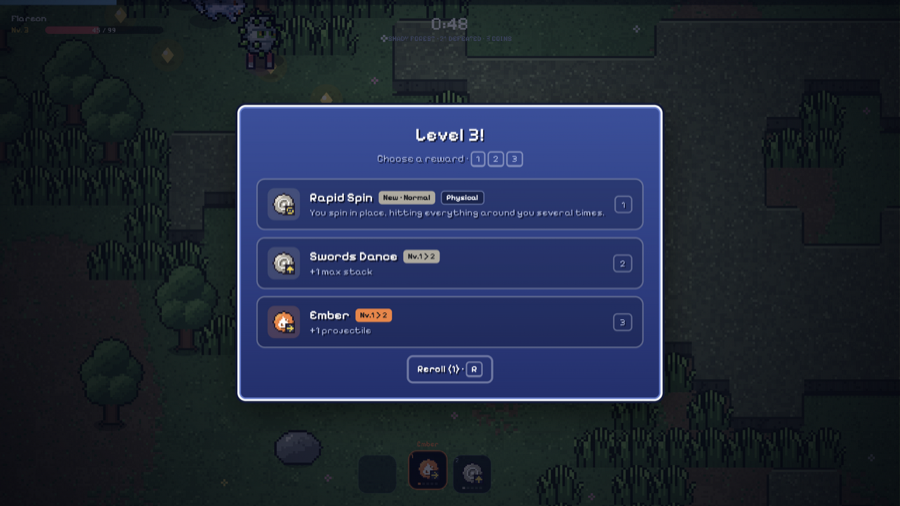
- 0:32 — the first swarm. A warning ("SWARM FOOTSTEPS") appears, then a wave condenses on you from one side. It comes back every 38–56 seconds, which is why so many runs die in the 0:30–0:50 window.
- 1:10 — the second tier. The enemy cast is re-rolled tougher, and from here every tier mixes in one support enemy: a healer, shielder, or summoner.
- 3:00 — the first boss. Roughly 1,900 HP and a hit in the 30s, with a gold health bar at the top of the screen. It is very beatable on even damage — if you arrive with HP and a levelled move.
Every enemy hit early costs 13–22 HP, and you only get a 0.45s invulnerability window between hits. Two or three enemies touching you at once is a death sentence, so the whole plan below is about never letting that happen.
Step 0 — spend your first coins before you press Play
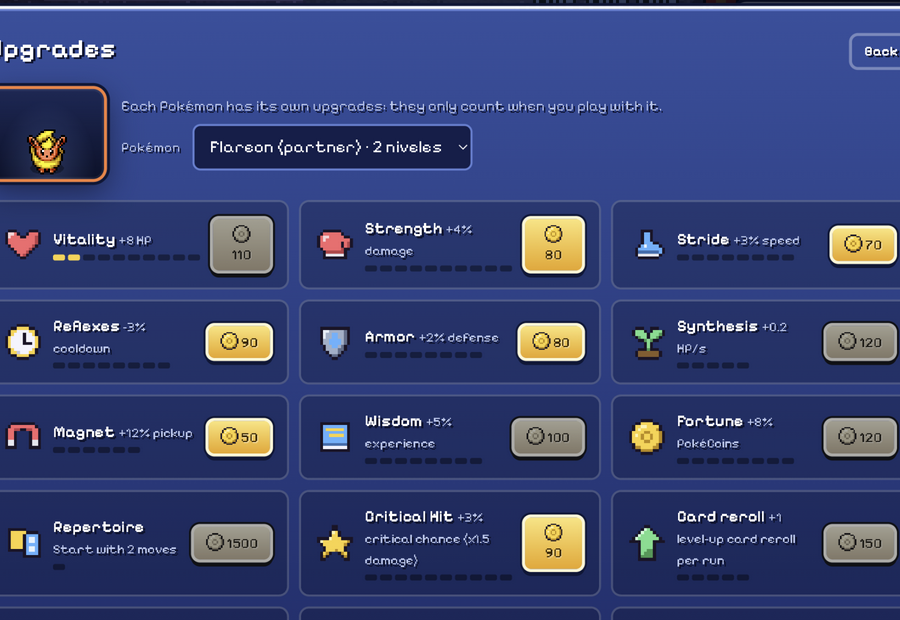
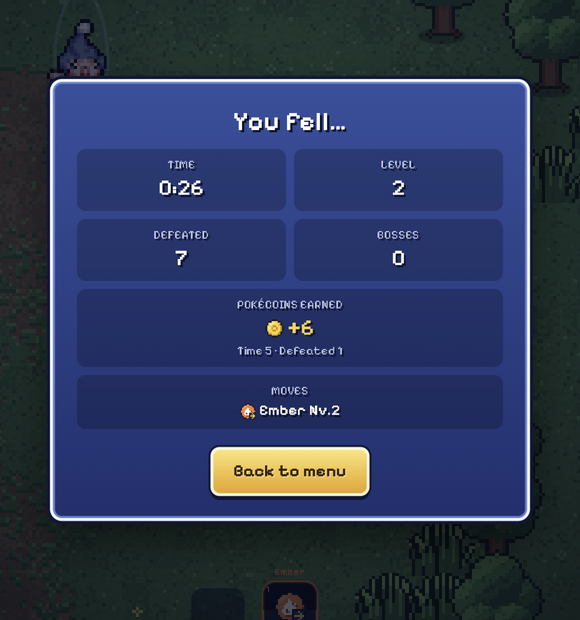
Upgrades are per-Pokémon and permanent. The first buy is Vitality (+8 HP, from 60 coins) on whoever you are playing — it is the only stat that helps every single fight. Strength (+4% damage) is the second. You earn coins from every run — even a 30-second death pays seconds ÷ 5 + defeats ÷ 4 plus the coins you picked up — so a bad run still funds the next one.
0:00–0:30 — the opening
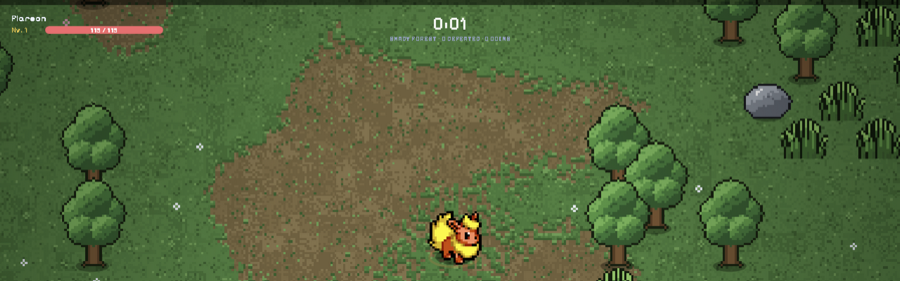
- Never stop moving. Your move fires by itself at whatever is nearest — walking is the entire skill. Standing still is how 50 HP disappears in five seconds.
- Take the first levels into damage. The best picks are an upgrade for your opening move, then a second damaging move, then Vigor (+20 HP, and it heals you for the same amount).
- Walk through tall grass and rocks — they drop experience, coins, and berries. A berry pickup is a free heal.
Level-ups: how to pick a card
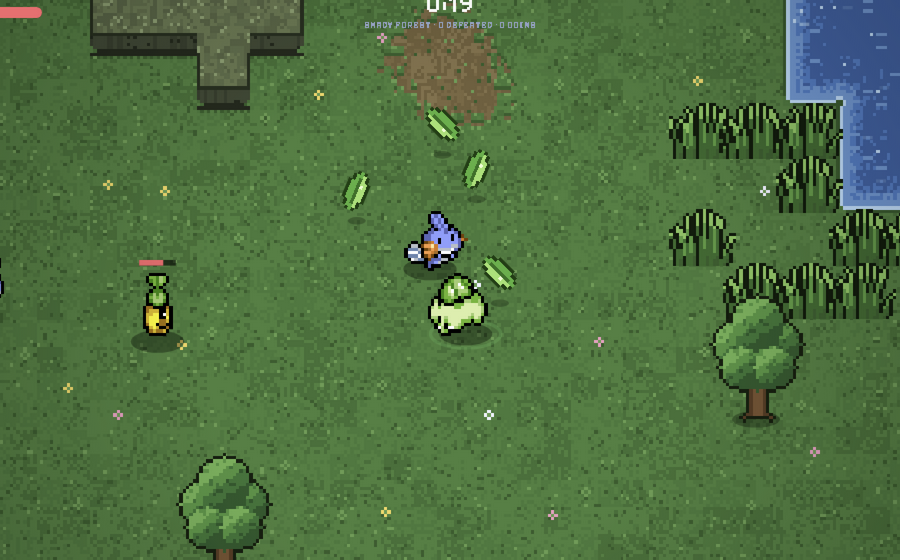
A level-up opens three cards, the game timer freezes while you choose, and you get one free reroll per run (the button at the bottom). Pick in this order:
- A gold EVOLUTION card — it only appears when your move is maxed and its condition stat is taken, and it is always a huge spike.
- Vigor (+20 HP) — a bigger health bar is the most forgiving stat while you learn.
- An upgrade for your opening move (the "Nv.1 > 2" tag) or Power (+10% damage).
- One new move if you are offered it — but note a new move goes to its own inactive slot: only the active slot fires, so more moves is not more damage until you switch (1–4 or Q/E).
0:32 — the first swarm
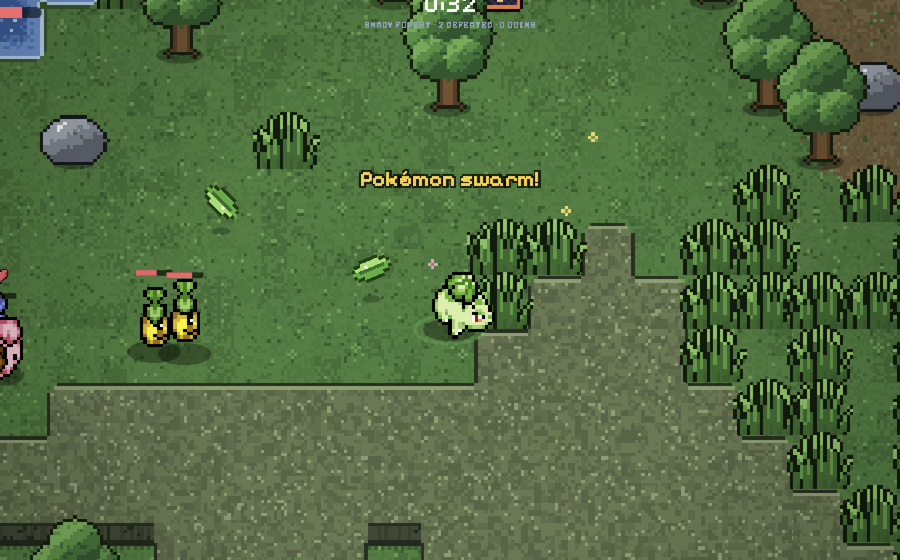
- When the warning shows, pick the emptiest direction on your screen and run straight. Do not turn back for kills; the wave is a clock, not a fight.
- Run through gaps, not along walls. Most swarm deaths happen in a wall pocket or a lake: water cuts your speed to 60%, and walls box you in while the pack arrives.
- The swarm passes. Ten seconds later the field is normal again and the XP it left behind is a level.
0:45–2:30 — win the economy, not every fight
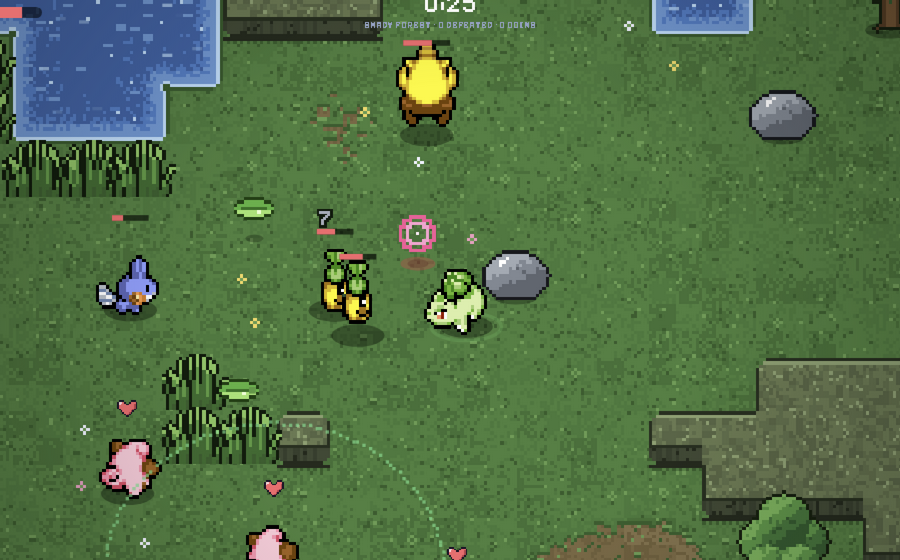
- Kill healers first. Chansey, Blissey, Audino, and friends restore 7% HP to everything near them every 3.5 seconds, and the heal grows with your attack — which is why stacking attack alone can make a pack stop dying. Only 3 can be alive at once, so the problem is always solvable: walk to the healer and delete it.
- Open every chest you pass. Stand next to it for about 3.5 seconds — it pays coins, gacha tickets, and a level's worth of experience.
- Do not chase kills into corners. If a chaser will not die, it is steering you into a wall. Drop it and rejoin the pack later.
- Skip the first rift. The roll arms at 1:15 and lands about 1:45 at 20%, rising every 30 seconds it misses — and a loss drops you at 30% HP with the boss ten minutes of mistake away. The early portal is a trap; the post-boss portal is a paycheck.
2:30–3:00 — set the table
- Spend the last level-ups on Vigor so you walk into the boss at full HP.
- Pre-position in open ground away from walls and water for the same reason the swarm does not kill you there.
- Normal spawns thin out the moment the boss arrives and no swarm rolls while it is alive — the fight is quieter than the minute before it. That is your window.
The 3:00 boss itself
- About 1,900 HP and a hit in the 30s. Its gold health bar sits at the top of the screen.
- It cannot out-heal you: a healer near a boss only puts back about 0.4 seconds' worth of your damage.
- Kite in wide loops — run through it with your move, away, and back. Do not stand inside its hit and trade.
- It drops an item, and a ×10 gacha ticket about one time in three. The clock keeps running, and the run continues. That is the wall broken: every boss after this one is the same fight with a bigger bar.
Then bank it: the run-end screen shows the exact coin breakdown (time ÷ 5 + defeats ÷ 4 + 80 per boss + picked-up coins), and 80 of those are the boss itself.
Death checklist
| Symptom | Cause | Fix |
|---|---|---|
| Died 0:15–0:25 with the XP bar full | You ignored a level-up, or stood still | Take the level-up (the timer freezes) and keep moving; XP does not bank while you idle |
| Died right at 0:32 | First swarm | Pick an empty direction before the warning, run straight, avoid walls and water |
| Died in a corner or a lake | Fighting while boxed in | Water is 60% speed; treat wall pockets as lava |
| The pack stopped dying at 1:30+ | Healer heal scaling with your attack | Find the healer (round, pink) and kill it first — 3 max at once |
| Died to the boss with it at 10% | Traded hits in melee range | Wide loops: in with the move, out before its hit, back in |
3-minute wall questions
Is the 3-minute wall the same for every starter?
The clock is identical; only your margin changes. Slowpoke (110 HP) forgives more mistakes, Froakie (108 speed) outruns the swarm more easily, and a ranged opener like Ember or Water Gun does the fighting for you. Any starter can clear it with the plan above.
Should I take a second move or upgrade the first?
Upgrade the first until it is comfortably levelled, and only then take a second move — a new move sits in its own inactive slot, so it does zero extra damage until you switch to it.
The swarm kills me no matter what. What am I doing wrong?
Almost always turning. The wave condenses on where you were; running in a straight line through gaps beats it without a single hit. Check your death replay spot: a wall or lake within two screens of your corpse is the usual accomplice.
When is the earliest rift worth it?
After the 3:00 boss, with more than half your HP and a move above level 1. The full logic is on the 15-minute run page.
Where next
- The full clock, boss HP bands, and rift windows are on the 15-minute run page.
- The personalities that appear before each boss are on the boss page.
- What each level-up card does long-term is on the move evolutions page.
- Spending the coins you just earned: the first upgrades order.
Screenshots are from real runs (captured with automated input for the camera work); mechanics are verified against the live game's data. Updated November 2026.